September 25, 2013
May 27, 2013
Xgraph in NS2
One part of the ns-allinone package is 'xgraph', a plotting program which can be used to create graphic representations of simulation results. In this section, I will show you a simple way how you can create output files in your Tcl scripts which can be used as data sets for xgraph. On the way there, I will also show you how to use traffic generators.
A note: The technique I present here is one of many possible ways to create output files suitable for xgraph. If you think there is a technique which is superior in terms of understandablity (which is what I aim for in this tutorial), please let me know.
First of all, we create the following topology:

The following piece of code should look familiar to you by now if you read the first sections of this tutorial.
set n0 [$ns node]
set n1 [$ns node]
set n2 [$ns node]
set n3 [$ns node]
set n4 [$ns node]

$ns duplex-link $n0 $n3 1Mb 100ms DropTail
$ns duplex-link $n1 $n3 1Mb 100ms DropTail
$ns duplex-link $n2 $n3 1Mb 100ms DropTail
$ns duplex-link $n3 $n4 1Mb 100ms DropTail
May 22, 2013
NS2 installation using Ubuntu Software Center
Let us install ns2 in a very nice and easy way. Ubuntu Software Center provides with ease to install different softwares by wizard.
Here is how it is done.
Open “Ubuntu Software Center” as hightlighted in the below figure.
Now, in the search box on the top right corner. Write ns2 and press enter.
You will see the package. Hit install button and it will install ns2. Ofcourse, internet connectivity is must :)
Similarly, you can install nam(network animator) by following the same procedure. Just enter "nam" in the search box and hit enter.
Install the first package that you see. And there you go, you have installed ns2 and nam . You can always install it using terminal simply by writing the following command.
sudo apt-get install ns2 nam xgraph Remember, when you do the same in Ubuntu 13.04, it will not show you the desired ns2 package. And you will have to install it manually. I guess this is only available for 12.04 version. So, there is another way available if you want to install ns2 in that version.
This could be resolved by applying the following command.
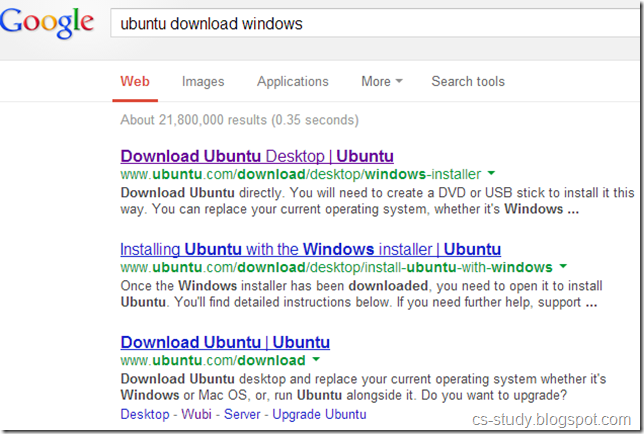
sudo apt-get update When the update is completed, go and run the command to install ns2 , nam and xgraph. If you want an easy way out to install Ubuntu using windows. Please click here.
May 21, 2013
Dynamic Nodes generation and traffic flow in ns2
#Create a simulator object
set ns [new Simulator]
#Tell the simulator to use dynamic routing
$ns rtproto DV
#Open the nam trace file
set nf [open out.nam w]
$ns namtrace-all $nf
#Define a 'finish' procedure
proc finish {} {
global ns nf
$ns flush-trace
#Close the trace file
close $nf
#Execute nam on the trace file
exec nam out.nam &
exit 0
}
#Create seven nodes
for {set i 0} {$i < 7} {incr i} {
set n($i) [$ns node]
}
#Create links between the nodes
for {set i 0} {$i < 7} {incr i} {
$ns duplex-link $n($i) $n([expr ($i+1)%7]) 1Mb 10ms DropTail
}
#Create a UDP agent and attach it to node n(0)
set udp0 [new Agent/UDP]
$ns attach-agent $n(0) $udp0
# Create a CBR traffic source and attach it to udp0
set cbr0 [new Application/Traffic/CBR]
$cbr0 set packetSize_ 500
$cbr0 set interval_ 0.005
$cbr0 attach-agent $udp0
December 25, 2012
Traffic Flow on Nodes in NS2
The output of the above code is as follows. Run the program by typing ‘ns trafficflow.tcl’ in terminal.
After it gets executed, the following output is displayed in nam.
Now, click on the Play button which is underlined green.
We can see the traffic flow as well as the traffic which are being dropped on node 2 because the limits of the node to hold the packets is limited. Thats why when the queue is full and there is no more capacity available, the packet drops.
Code Explained:
set ns [new Simulator]: generates an NS simulator object instance, and assigns it to variable ns.
The "Simulator" object has member functions that do the following:
- Create compound objects such as nodes and links (described later)
- Connect network component objects created (ex. attach-agent)
- Set network component parameters (mostly for compound objects)
- Create connections between agents (ex. make connection between a "tcp" and "sink")
- Specify NAM display options
Most of member functions are for simulation setup (referred to as plumbing functions in the Overview section) and scheduling, however some of them are for the NAM display. The "Simulator" object member function implementations are located in the "ns-2/tcl/lib/ns-lib.tcl" file.
- $ns color fid color: is to set color of the packets for a flow specified by the flow id (fid). This member function of "Simulator" object is for the NAM display, and has no effect on the actual simulation.
- $ns namtrace-all file-descriptor: This member function tells the simulator to record simulation traces in NAM input format. It also gives the file name that the trace will be written to later by the command $ns flush-trace. Similarly, the member function trace-all is for recording the simulation trace in a general format.
- proc finish {}: is called after this simulation is over by the command $ns at 5.0 "finish". In this function, post-simulation processes are specified.
- set n0 [$ns node]: The member function node creates a node. A node in NS is compound object made of address and port classifiers (described in a later section). Users can create a node by separately creating an address and a port classifier objects and connecting them together. However, this member function of Simulator object makes the job easier. To see how a node is created, look at the files: "ns-2/tcl/libs/ns-lib.tcl" and "ns-2/tcl/libs/ns-node.tcl".
- $ns duplex-link node1 node2 bandwidth delay queue-type: creates two simplex links of specified bandwidth and delay, and connects the two specified nodes. In NS, the output queue of a node is implemented as a part of a link, therefore users should specify the queue-type when creating links. In the above simulation script, DropTail queue is used. If the reader wants to use a RED queue, simply replace the word DropTail with RED. The NS implementation of a link is shown in a later section. Like a node, a link is a compound object, and users can create its sub-objects and connect them and the nodes. Link source codes can be found in "ns-2/tcl/libs/ns-lib.tcl" and "ns-2/tcl/libs/ns-link.tcl" files. One thing to note is that you can insert error modules in a link component to simulate a lossy link (actually users can make and insert any network objects). Refer to the NS documentation to find out how to do this.
- $ns queue-limit node1 node2 number: This line sets the queue limit of the two simplex links that connect node1 and node2 to the number specified. At this point, the authors do not know how many of these kinds of member functions of Simulator objects are available and what they are. Please take a look at "ns-2/tcl/libs/ns-lib.tcl" and "ns-2/tcl/libs/ns-link.tcl", or NS documentation for more information.
- $ns duplex-link-op node1 node2 ..: The next couple of lines are used for the NAM display. To see the effects of these lines, users can comment these lines out and try the simulation.
Now that the basic network setup is done, the next thing to do is to setup traffic agents such as TCP and UDP, traffic sources such as FTP and CBR, and attach them to nodes and agents respectively.
- set tcp [new Agent/TCP]: This line shows how to create a TCP agent. But in general, users can create any agent or traffic sources in this way. Agents and traffic sources are in fact basic objects (not compound objects), mostly implemented in C++ and linked to OTcl. Therefore, there are no specific Simulator object member functions that create these object instances. To create agents or traffic sources, a user should know the class names these objects (Agent/TCP, Agnet/TCPSink, Application/FTP and so on). This information can be found in the NS documentation or partly in this documentation. But one shortcut is to look at the "ns-2/tcl/libs/ns-default.tcl" file. This file contains the default configurable parameter value settings for available network objects. Therefore, it works as a good indicator of what kind of network objects are available in NS and what are the configurable parameters.
- $ns attach-agent node agent: The attach-agent member function attaches an agent object created to a node object. Actually, what this function does is call the attach member function of specified node, which attaches the given agent to itself. Therefore, a user can do the same thing by, for example, $n0 attach $tcp. Similarly, each agent object has a member function attach-agent that attaches a traffic source object to itself.
- $ns connect agent1 agent2: After two agents that will communicate with each other are created, the next thing is to establish a logical network connection between them. This line establishes a network connection by setting the destination address to each others' network and port address pair.
Assuming that all the network configuration is done, the next thing to do is write a simulation scenario (i.e. simulation scheduling). The Simulator object has many scheduling member functions. However, the one that is mostly used is the following:
- $ns at time "string": This member function of a Simulator object makes the scheduler (scheduler_ is the variable that points the scheduler object created by [new Scheduler] command at the beginning of the script) to schedule the execution of the specified string at given simulation time. For example, $ns at 0.1 "$cbr start" will make the scheduler call a start member function of the CBR traffic source object, which starts the CBR to transmit data. In NS, usually a traffic source does not transmit actual data, but it notifies the underlying agent that it has some amount of data to transmit, and the agent, just knowing how much of the data to transfer, creates packets and sends them.
After all network configuration, scheduling and post-simulation procedure specifications are done, the only thing left is to run the simulation. This is done by $ns run.
Nodes creation in NS2
Add the following code to the new file and named it with the extension of tcl. i.e. filename.tcl . To create the file go to the terminal.
Write
gedit filename.tcl
This above command will open a file with the name filename.tcl. Add the following code to the file and save the file.
Now, in order to run the file go to the Terminal and write the following command.
ns filename.tcl
Code:
#Create a simulator object
set ns [new Simulator]
#Open the NAM trace file
set nf [open o.nam w]
$ns namtrace-all $nf
# create nodes
set n0 [$ns node]
set n1 [$ns node]
set n2 [$ns node]
set n3 [$ns node]
set n4 [$ns node]
set n5 [$ns node]
set n7 [$ns node]
set n8 [$ns node]
set n10 [$ns node]
December 19, 2012
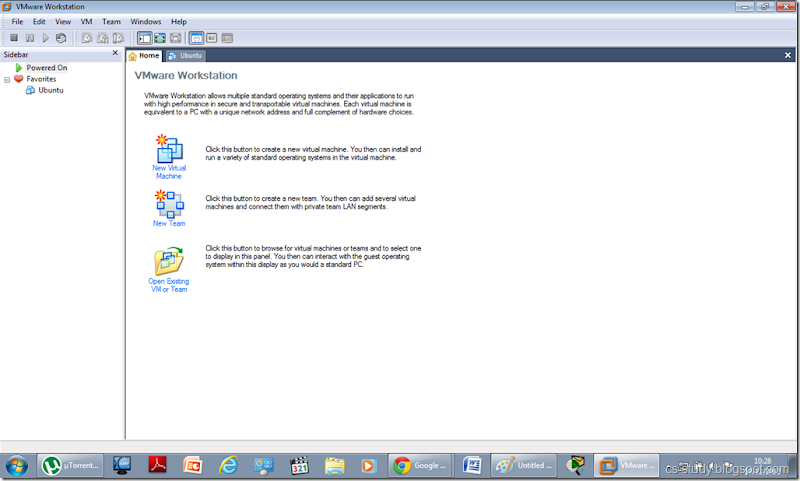
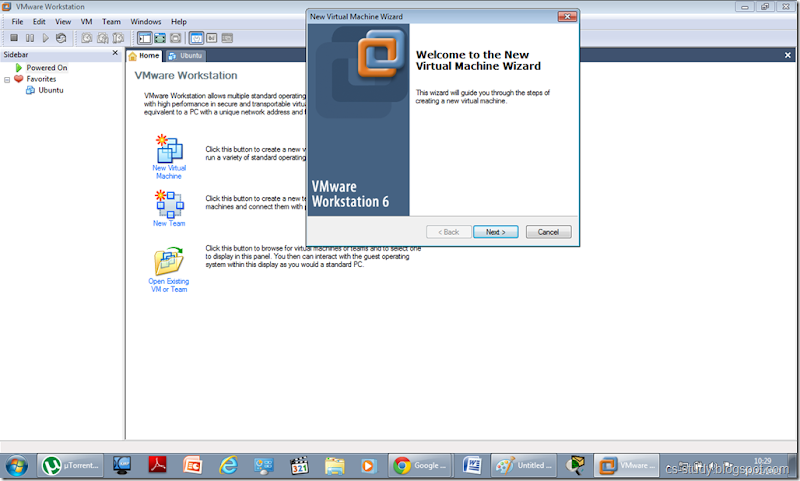
NS2 and UBUNTU Installation on VMWARE
C program to Read From a File
#include <stdio.h> #include <stdlib.h> void main() { FILE *fptr; char filename[15]; char ch; ...
-
A terminal emulation program for TCP/IP networks such as the Internet. The Telnet program runs on your computer and connects your PC to a ...
-
Voice over IP (VoIP, or voice over Internet Protocol) commonly refers to the communication protocols, technologies, methodologies, and tra...
-
Star Formations http://cs-study.blogspot.com/2013/10/c-program-to-print-different-star.html Hollow...


